Part 1 : Where do we start before taking shots ?
The weather is bad and there is no plan for clear sky. Let’s go back a bit, to explain how we start for an astrophotography shooting.
I have been using a lot of specific wording in my posts. And maybe it is a good time to start from scratch. There is no planning for astro-shooting, as the weather is giving me a hard time …
The type of telescope is quite irrelevant to the steps you need to follow. You have a tripod, a mount (equatorial is best) and a tube. I’m targeting DSO (Deep Space Objects) and not Planets. I’m planning planets later on this year with a very long focal telescope, but at the moment focus is DSO.
First thing first, you need to put your setup in station mode. What does it mean ? Well, it means that you must acknowledge that Earth is rotating around an axis, and that you need to align your telescope with this axis so “your objects will not rotate” and you will not need to compensate this rotation by correcting x and y axes (they have other names, LOL, I will tell in another post). This alignement is called a Polar Alignment.
You can start by roughly aligning your telescope with Polaris star (for the North Hemisphere), using a compass to North and figuring what is the brightest star in this direction (I would recommend to make your focus tuning on Polaris at this very step, so it’s done. Use a Bathinov mask, you’ll save some time). For stargazing, rough alignment is okay, but not for astrophotography … Depending on your telescope, you may have an integrated tool for aligning better. I’m using for the past month a camera from QHY named PoleMaster. The software runs on Windows or Mac, and it helps you to make a very precise and accurate Polar Alignment (30” of arc accuracy, it is very good). Once your mount is properly aligned, your mount will propose a star alignment (not with Polaris but from a list of shiny known stars), with a choice from 1 to many, but let’s be very sure that if your Polar alignment is good, you will only need one star alignment as the mount may slew directly to this star and will ask you “Is the star you’ve chosen in the middle of your ocular/camera frame?” and guess what ? It will probably be in there in the middle … And you’re done with your station setup !
That’s the most important step for your night ! Don’t even think about moving your telescope or bumping into it … you’ll have to start from scratch this Polar alignment procedure …
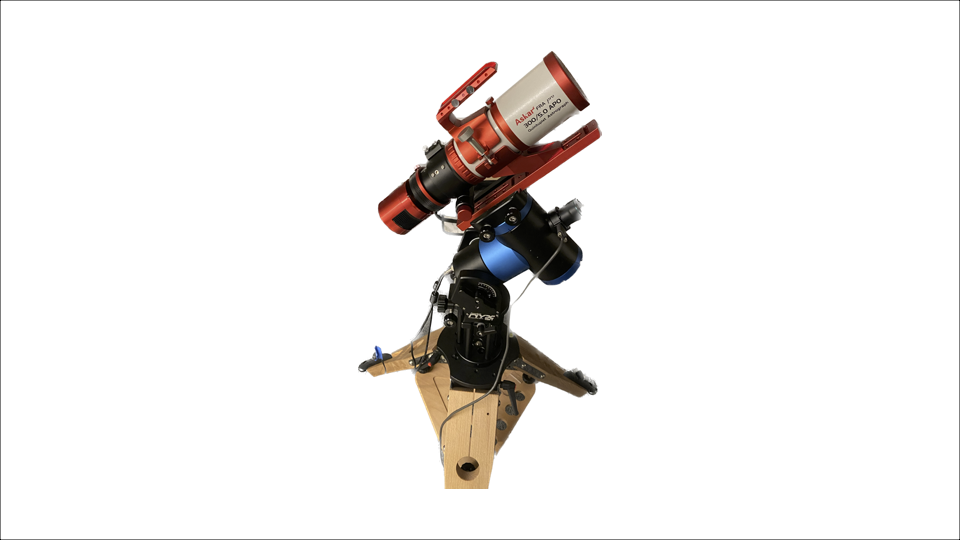
On the post picture, you can see one of my setup. The mount is an equatorial hybrid mount, and you can see the Polemaster camera attached to its front, with this gray cable attached to the camera. On my first setup (the Celestron C9 Evolution), this Polar Alignment procedure was a bit painful and time consuming, with this new mount and the Polemaster, it takes me around 6 to 7 minutes.